Acrylic nails are a fantastic way to achieve long, beautiful nails, but dealing with nail growth underneath can be a challenge. Not only is it annoying, but it can also lead to hygiene concerns and impact the overall health of your nails. In this comprehensive guide, we’ll explore effective methods to address and remove natural nail growth under acrylics, ensuring your nails remain seamless and beautiful. Let’s dive in!
Smooth Out Nail Growth with a Carbide Bit
The fastest and most efficient way to deal with nail growth under acrylics is to smooth it out using a carbide cone drill bit. This method involves shaving down the natural nail and thinning it out, creating a seamless transition between the natural and acrylic nails.
How to Use a Carbide Nail Drill Bit:

- Set the electric drill to 20,000 rotating speed: This prevents damage to your natural nails.
- Start from the middle underside: Slowly buff the natural nail growth towards the sidewalls.
- Take your time: Be gentle to avoid damaging the acrylic or natural nail.
- Repeat the process: Dust the nail residues away frequently for a better view.
- Avoid buffing underneath the acrylics: If dirt is trapped, use a nail brush for cleaning.
Remember, it’s crucial to be careful around the hyponychium and onychodermal band, which are essential parts supporting the nail bed.
Remove Natural Nail Growth with a Needle Bit

An alternative method is using a needle bit for precision work, especially in tight spaces underneath the nail.
How to Use a Needle Bit:
- Attach the needle bit to your electric nail file: Set it to a low speed.
- Work from the middle underside towards the sidewall: Gradually thin out the natural nail growth.
- Adjust angles: Find what works best for you to avoid damaging acrylic or natural nails.
- Take your time: Working slowly is key to prevent any mishaps.
While a needle bit is effective, it may not be as suitable for significant growth compared to a carbide cone drill bit.
Can You Cut Real Nails Under Acrylics?
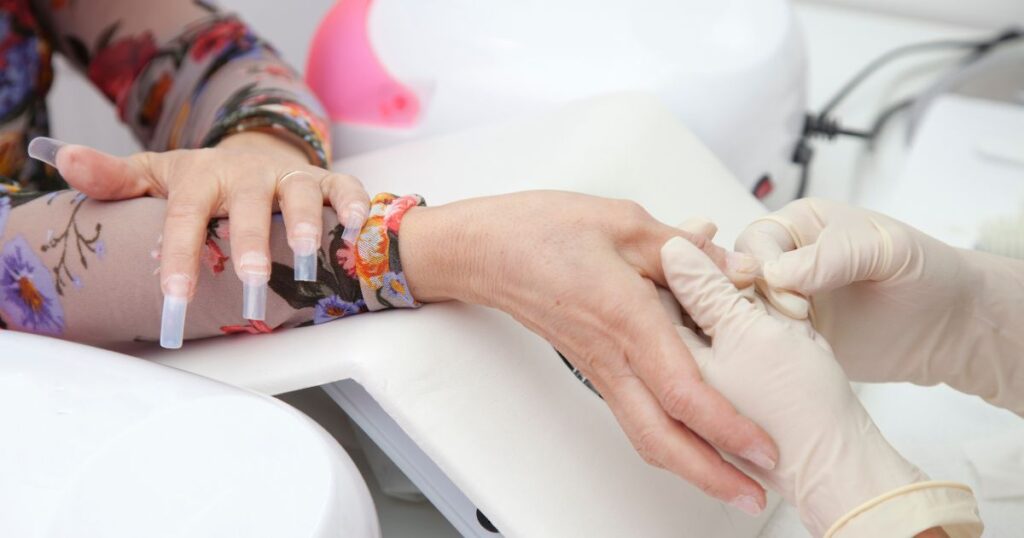
It’s not recommended to cut real nails under acrylics with scissors or clippers, as this may damage both the natural nail and the acrylic. Instead, opt for a nail drill or e-file with a needle or carbide drill bit for a safer and more effective approach. If you’re new to this process, seeking the assistance of a professional nail technician is advisable.
How to Remove Real Nails from Under Acrylic?

When dealing with nail growth under acrylics, the emphasis should be on smoothing rather than cutting. Using a carbide cone drill bit or a needle bit allows you to shave down and thin out natural nail growth, creating a smooth transition between the natural and artificial nails.
Tips To Keep Grown-out Natural Nails and Acrylic Healthy
Acrylic nails, like natural nails, can accumulate dirt. Here are some tips to keep them healthy:
- Wash your hands with mild soap to remove debris under your acrylic nails.
- Use gloves when doing tasks that expose your nails to chemicals.
- Use a soft-bristle toothbrush or a nail brush to remove hard-to-reach dirt beneath the acrylics.
Read Also:
Why Your Nail Polish Keeps Peeling Off?
FAQs:
Do Your Own Nails Grow Under Acrylic?
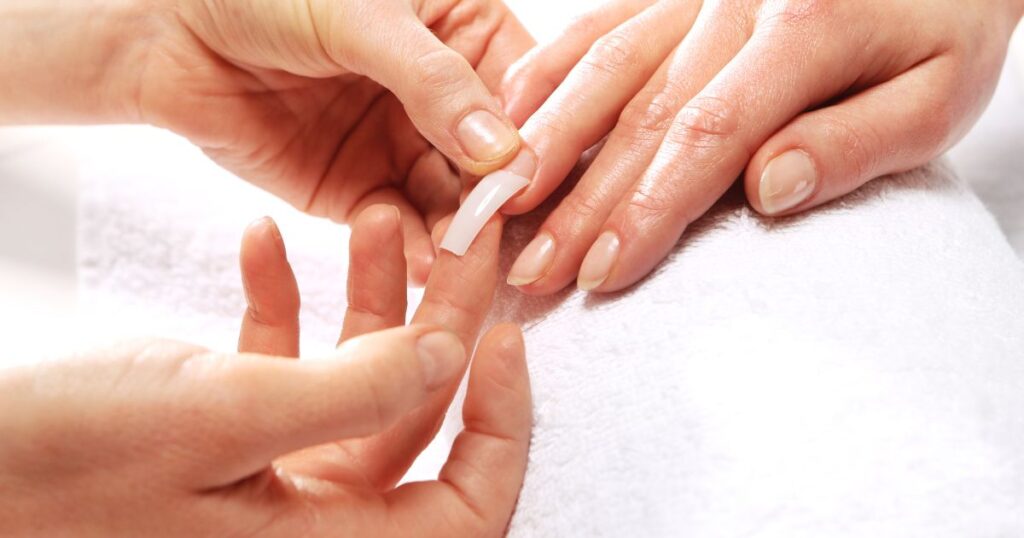
Yes, acrylics are applied to the natural nail, and as your natural nails grow, they can push the acrylics further away from the nail bed, creating a visible gap or lip.
How Fast Do Nails Grow Under Acrylics?
The growth rate varies but averages around 3-4 millimeters per month. Maintaining good nail hygiene is crucial to prevent infections.
Conclusion
Dealing with natural nail growth under acrylics requires care, precision, and the right tools. By following the techniques outlined in this comprehensive guide, you can maintain beautiful, healthy acrylic nails. Remember to prioritize nail health, take breaks to let your nails breathe, and follow proper hygiene practices. With regular maintenance, you can enjoy stunning acrylic nails without sacrificing nail health.


Pingback: How Long Do Silk Wrap Nails Last? - The Style Sleek
Pingback: How Long Does Eyebrow Threading Last? - The Style Sleek