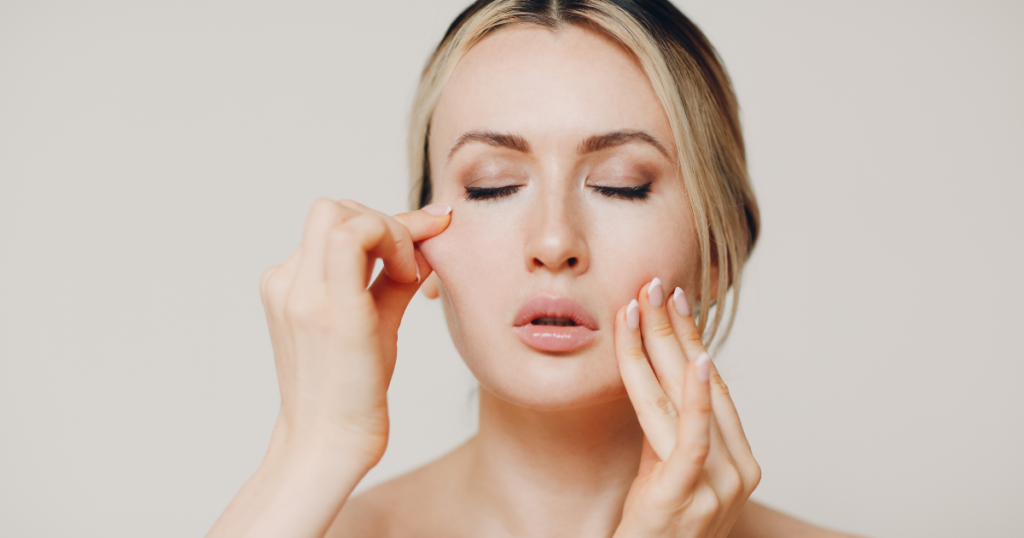
Contouring and highlighting are transformative makeup techniques, but they can be tricky, especially considering the variations based on face shapes and product choices. In this guide, we’ll explore the art of contouring tailored to specific face shapes, offering step-by-step instructions for achieving a defined and highlighted look.
Contouring for an Oblong/Oval Face Shape:

An oblong face is almost twice as long as it is wide, lacking defined points at the chin, jaw, or hairline.
Contour:
Along the hairline to create the illusion of a smaller forehead.
Below the cheekbones, starting at the ears and ending in the middle of the cheeks.
Highlight:
Under the eyes in an upside-down triangle shape.
Contouring for a Diamond Face Shape:
A diamond face has wider cheeks, a narrowing hairline, and chin, often appearing longer than wider.
Contour:
Below the cheekbones, starting at the ears and ending in the middle of the cheeks.
Avoid bringing the contour too close to the mouth.
Highlight:
Under the eyes in an upside-down triangle shape, aligning with the contoured area.
In the middle of the forehead and chin to broaden these narrower regions.
Contouring for a Heart Face Shape:
A heart face has a narrow, pointed chin, narrower cheeks than the hairline, and may include a widow’s peak.
Contour:
Along the sides of the forehead and temples to balance the upper and lower halves.
On the lower chin to enhance the point.
Highlight:
Under the eyes in an upside-down triangle shape.
In the middle of the forehead and chin to widen these areas.
Contouring for a Round Face Shape:
A round face has similar length and width with no defined points along the jawline, chin, or forehead.
Contour:
Around the sides of the forehead and temples to slim down.
Below the cheekbones from ear to middle of cheeks, then down to the jawline for added length.
Highlight:
Under the eyes in an upside-down triangle shape.
In the middle of the forehead and chin to add width.
Contouring for a Square/Rectangle Face Shape:
A square face is roughly the same length and width, with an even hairline and jawline.
Contour:
Around the sides of the forehead and temples to slim down.
Along the hairline to create a smaller forehead.
Below the cheekbones, starting at the ears and ending in the middle of the cheeks.
Under the jawbone to slim this area.
Highlight:
Under the eyes in an upside-down triangle shape.
In the middle of the forehead and chin.
Main Tips for Effective Contouring and Highlighting:
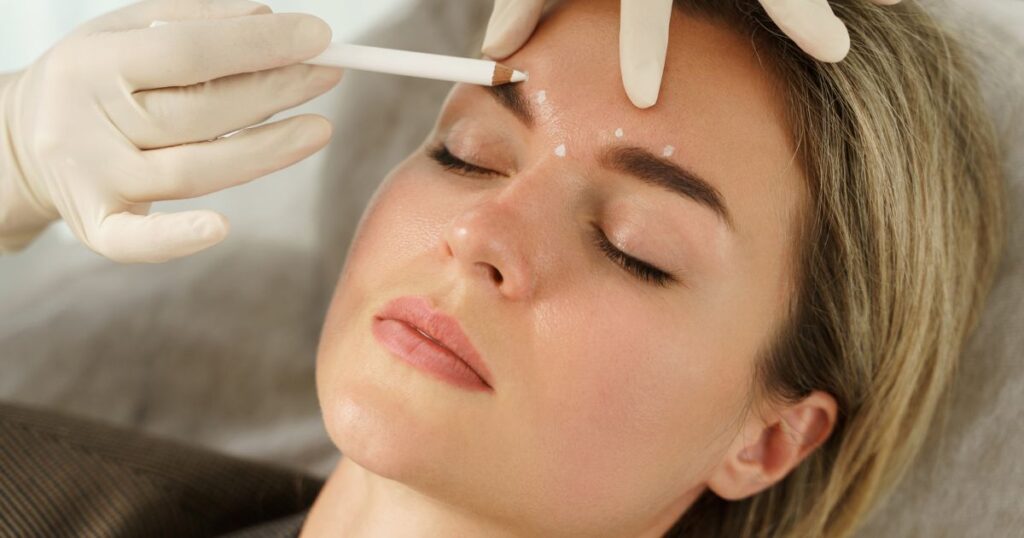
Use contour shades to slim and narrow larger areas while defining cheekbones.
Utilize highlight shades to bring forward specific areas and brighten the eye region.
Read Also:
How to Use Texture Powder for Hair?
FAQs:
How do I choose the right contour shade for my face?
Select a contour shade that is a few shades darker than your natural skin tone for a subtle and natural look.
Can I use the same contouring technique every day?
While the basic principles apply, feel free to adjust the intensity based on the occasion and your personal preferences.
Do I need to contour and highlight every part mentioned in the guide?
No, you can customize your contouring routine based on your preferences and the areas you want to emphasize or downplay.
What tools are essential for effective contouring?
A good contour palette, makeup brushes, and a beauty blender are key tools for achieving a seamless contour.
Conclusion:
Contouring your face according to its shape is an art that enhances your natural beauty. By following these tailored techniques, you can achieve a flawless and highlighted look. Experiment with different shades and practice to find the contouring routine that works best for you.