How to Style Baby Girl Hair

How to Style Baby Girl Hair?

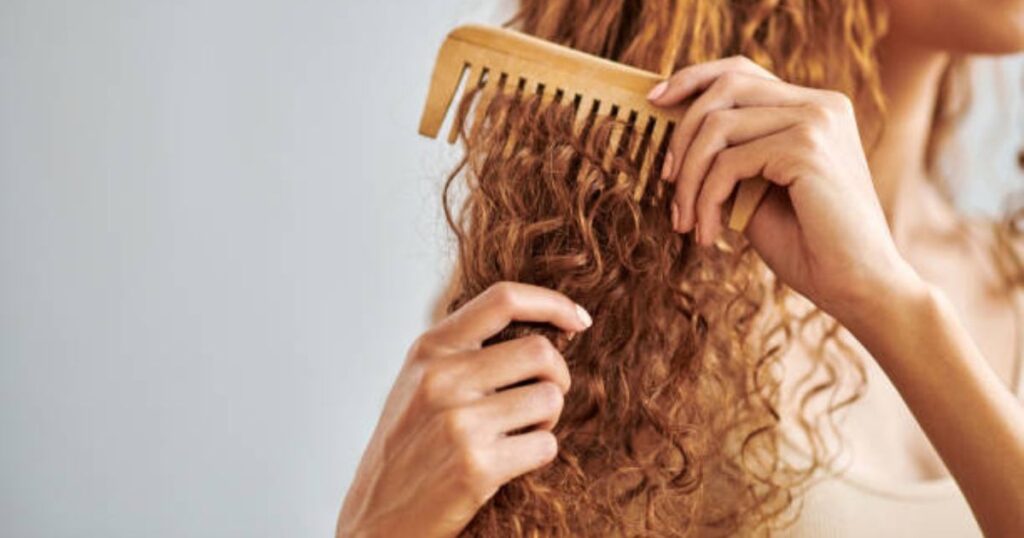
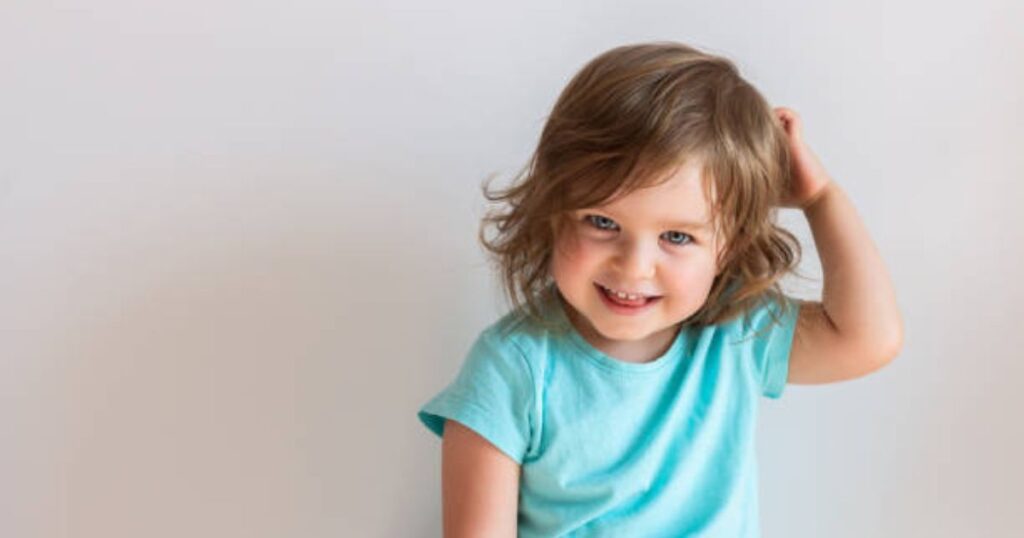
Styling your baby girl’s hair is a charming way to enhance her adorable looks while creating precious moments together. Keeping it simple and comfortable is key for both you and your baby. In this guide, we’ll explore easy and practical hairstyles, maintenance tips, and essential care routines for your baby girl’s hair. Toddler Girl Hairstyles 1. Pigtails This classic hairstyle is simple and easy to achieve. Use cute hairbands or clips to secure the hair into pigtails. For an extra touch, consider adding a gentle French braid before tying it up. 2. Floral Headband A timeless and basic baby hairdo, perfect for formal occasions. Use a soft fabric headband and a wide-tooth comb to create a side split, adding a hypoallergenic floral band for a delicate touch. 3. Ponytail A straightforward and cute hairstyle, ensure you brush her hair beforehand to make it easy to tie. Gently pull the hair into a ponytail using a baby-friendly hair tie. 4. Bow-Pinned Hairstyle Ideal for short hair, create a side part and use cute clips to secure it, preventing hair from falling into her face. The CELLOT Baby Hair Clips, a set of 50 bows, are a great option for this style. 5. Bright Butterfly Hair Clips For thin hair, adorn your baby’s hair with small butterfly clips in various colors. The 100 Packs Assorted Color Butterfly from XIEHE offers a wide range of colors for a lovely and colorful look. How to Maintain Your Baby’s Hairstyle? Maintaining your baby girl’s hairstyle can be challenging due to their activity level. Here are some tips to keep her adorable look intact: What Causes Some Babies To Be Born With a Head Full of Hair? Genetics plays a significant role in determining whether a baby is born with a head full of hair. DNA dictates physical characteristics, including hair color and texture. Hormone levels in the womb also contribute, as higher hormone levels in the mother may lead to babies being born with more hair. Essential Tips to Take Care of Your Baby’s Hair 1. Shampooing Shampoo your baby’s hair three times a week with a mild baby shampoo, such as Burt’s Bees Baby Shampoo. Avoid daily washing, as adult shampoos can be too harsh. 2. Oil Your Baby’s Hair with Coconut Oil Apply coconut oil to your baby’s scalp a few times per week to promote hair growth and improve texture. This helps moisturize the hair and prevent conditions like cradle cap. 3. Gently Comb the Hair Use a comb with broad teeth and soft bristles, like the one from Frida Baby, to promote healthy sebum production. Be cautious not to comb too frequently, as the baby’s scalp is fragile. 4. Apply Hair Conditioner For curly or textured hair, use a child-safe conditioner like The Honest Company Silicone-Free Conditioner. Condition after shampooing and rinse with lukewarm water. Check Also: Is Styling Powder Harmful to Your Hair? How to Style Permed Hair in the First 48 Hours? FAQs Can I use adult hair products on my baby’s hair? It’s recommended to use baby-specific products to avoid harsh chemicals. Adult shampoos may be too strong for your baby’s delicate hair and scalp. How often should I shampoo my baby’s hair? Shampoo your baby’s hair three times a week. Daily washing is unnecessary and can strip the hair of natural oils. Are there any specific considerations for babies with curly hair? Yes, use a child-safe conditioner to moisturize curly or textured hair. The Honest Company Silicone-Free Conditioner is a gentle option. How can I prevent cradle cap in my baby? Apply coconut oil to your baby’s scalp a few times per week. This helps moisturize the hair and prevents conditions like cradle cap. Conclusion Styling and maintaining your baby girl’s hair doesn’t require expertise; it’s about creating adorable moments. Achieve these hairstyles with gentle hair ties like Burlyband’s. As you explore the world of baby hair care, remember to embrace the natural charm of your baby’s unique look. Enjoy these precious moments with your little one!

Is Styling Powder Harmful to Your Hair

Is Styling Powder Harmful to Your Hair?

Ever wondered about the impact of hair styling powder on your locks? If you’re curious but hesitant, worry not. This article explores the realm of hair styling powder, its history, and its effects on your hair. Let’s dive into whether this beauty trend is a friend or foe for your tresses. The Legacy of Hair Powder: Did you know that hair powders have been in existence for over two centuries? Despite fashion trends evolving, the use of hair powder persists today, adding texture and volume to your hair for styling purposes. Hair chalk, a temporary coloring option, is also part of this unique movement. The Short Answer: Addressing the burning question – is hair styling powder bad for your hair? The concise response is no. Contrary to some concerns, using hair styling powder does not damage your hair. While regular shampooing is necessary, the powder itself poses no harm to your locks. Benefits of Using Hair Powder: Delving into the advantages, let’s explore why hair powder might be a game-changer in your styling routine. Is It Safe for Your Hair? Examining the safety aspect, hair styling powder is considered safe for occasional use within the recommended time frame of one to three days. Extended and consistent use is discouraged, as it may lead to dryness in hair strands. The drying effect is a common characteristic of any powder but is deemed acceptable for periodic application. Check Also: FAQs: Can hair powder damage my hair with prolonged use? Prolonged and consistent use of hair powder is not recommended, as it may lead to dryness in hair strands. Using it within the specified time frame and following instructions mitigates potential damage. How often should I use hair styling powder? It is advisable to use hair styling powder periodically and according to the product’s instructions. Washing the powder out within 1–3 days of application is recommended. Is hair chalk less damaging than hair dye? Yes, hair chalk is generally less damaging than dye, as it sits on the surface of the hair without opening the cuticle, which can weaken the hair. Conclusion: Hair styling powder, particularly volumizing powders, can work wonders for your hair. Users are encouraged to follow product instructions, washing the powder out within the recommended time frame to ensure optimal results. Embrace the benefits of hair powder while maintaining a balanced and mindful approach to its usage.

How to Style Short Curly Hair Men

How to Style Short Curly Hair Men?

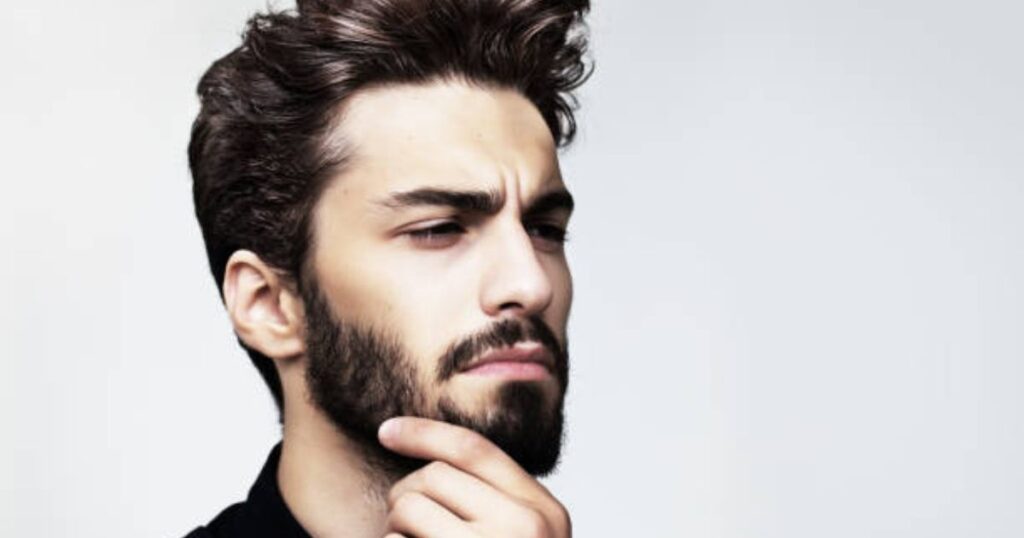
Styling short curly hair as a man can be a challenging yet rewarding endeavor. Unlike straight hair, the natural texture of curly hair is unique, with varying thickness and a propensity to frizz. To help you avoid looking like a wind-tunnel victim, we’ve compiled some valuable tips and tricks for taming and styling your curly mop. Modify Your Hair Care Routine Starting with a suitable hair care routine is crucial when it comes to managing short curly hair: Shampoo Sparingly: Unlike straight hair, curly hair should not be shampooed as frequently. Aim for about twice a week and choose a moisturizing shampoo to avoid stripping essential oils and causing frizz. Condition Regularly: Use a conditioner at least three times a week. Additionally, consider using leave-in conditioning products to maintain hydration. Skip Daily Shampooing: On non-shampoo days, rinse your hair with water during your regular shower to maintain cleanliness and moisture. Invest in the Right Tools Curly hair demands specialized tools to maintain its natural shape and minimize frizz: Wide-Toothed Comb: Replace fine-toothed combs and brushes with a wide-toothed comb to avoid disrupting your curl pattern. Gentle Drying: Avoid rough towel drying, which can cause frizz. Instead, gently squeeze your hair with a microfiber towel to minimize knots and absorb excess water. Air Dry or Use a Diffuser: Opt for either air drying or a low-heat blow-dry with a diffuser attachment to prevent heat-induced damage and frizz. Apply the Appropriate Styling Products To style short curly hair effectively, choose high-quality hair products tailored for your hair type: Pomade or Styling Gel: Work a pomade or styling gel through your curls using your fingers. This hands-on approach helps define and separate your curls. How to Style Men’s Short Curly Hair? When it comes to short curly hair, you have various options for achieving your desired look: Pomade or Fiber Paste: Start with damp hair and work through a pomade or fiber paste to style your curls. Select Your Finish: Choose between a greasy sheen, matte finish, or a shiny wet look to match your style preference. Avoid Heat Styling: Steer clear of blow drying and excessive heat, as high temperatures can damage short curly hair. Scrunch or Comb: Depending on your desired look, scrunch your hair for a carefree, wild appearance or comb it straight back and let the curls fall naturally. Hair Tonic: A light spray of hair tonic can help maintain the shape and hold of your curls. Finger Comb for Quick Touch-Ups: Keep your fingers slightly damp for a quick, on-the-go finger comb refresh. How to Style Men’s Medium Length Curly Hair? If you have medium-length curly hair, follow these steps to achieve the perfect look: Prepare Your Hair: Start with damp hair and use a wide-toothed comb to detangle and ensure your curls are ready for styling. Select the Right Product: Choose a styling product with the desired level of hold and finish. Options include greaser shine, matte clay, or extreme hold pomade. Choose Your Style: Experiment with different styles by combing up and flipping out or finger crunching your hair against your head. You can also slick it back or create messy bangs. Volumize for Impact: For added volume, blow dry your hair upside down with a diffuser. Surf Tonic Finish: Complete your look with a light spray of surf tonic to help your curls stay together. How to Style Long Curly Hair for Men? Long curly hair can be a statement of its own. Here’s how to make the most of it: Condition and Detangle: Begin by conditioning your hair daily and gently towel drying it using the squeezing method. Use a wide-toothed comb to detangle your damp hair, and choose a middle or side part. Apply Grooming Cream: Apply a generous amount of grooming cream to add a light shine and hold to your long curls. Start at the ends and work your way towards the roots while finger combing through. Consider Fiber Gel: For a firmer yet flexible hold, use a fiber gel to help your long curls withstand the elements. Man Bun or Stallion-Tail: On days when you need extra control, try a man bun or a half-down man bun. Alternatively, use an elastic hairband for a stallion-tail look. Slick down the front, sides, and back with pomade or hair cream to prevent frizz. Keep It Together: Utilize grooming cream to finger comb your curls and maintain a polished look. Men’s Hairstyles for Curly Hair When it comes to styling curly hair, you have three fundamental options to choose from: Slick It Back: Comb your hair back and apply pomade for a greasy shimmer or a matte clay finish. This style exudes control and confidence. Let It Ride: Allow your curls to flow naturally and embrace their unruly charm. Toss your curls and finger comb, steering clear of structured parts. Use grooming cream and a surf tonic spray to maintain your wild look. Divide and Conquer: Opt for a long center part or a side part, and let your grungy waves shine through. Use a pomade with the desired hold and shine level to match the occasion. Check Also: Conclusion In conclusion, styling short curly hair as a man requires a combination of suitable hair care, the right tools, and appropriate styling products. Remember that embracing your natural curls and experimenting with different styles can help you discover the look that suits your personality and preferences. By following these tips and tricks, you can confidently tame and style your curly locks to perfection.

How to Style Permed Hair in the First 48 Hours

How to Style Permed Hair in the First 48 Hours?

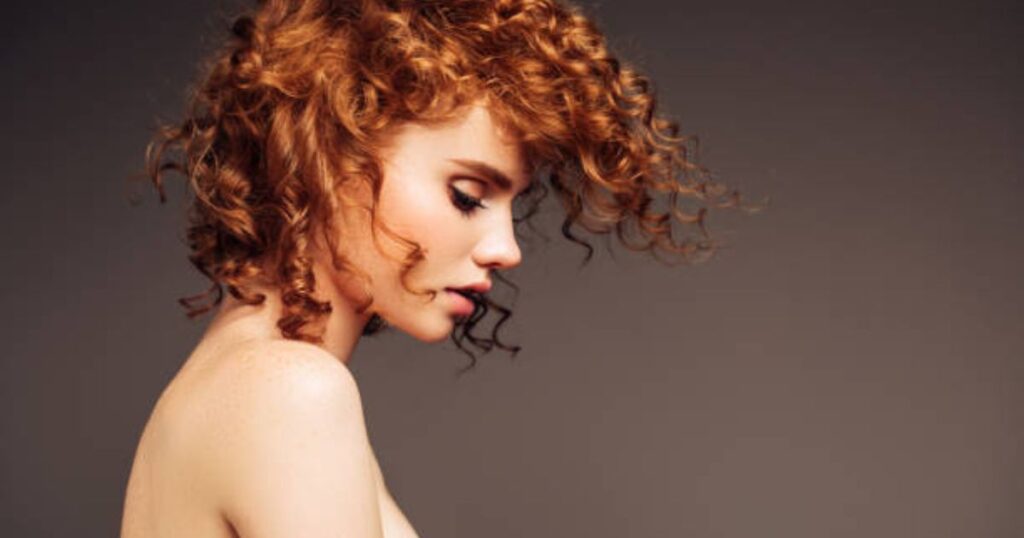
Perming your hair is a fantastic way to achieve those beautiful, bouncy curls you’ve always wanted. However, in the first 48 hours after getting a perm, it’s crucial to take special care of your hair to ensure the best results. This guide will walk you through the do’s and don’ts of styling permed hair during this critical initial period, helping you maintain the integrity of your curls. The First 48 Hours After a Perm: After investing around four hours to complete the perm, the first 48 hours are crucial for maintaining the new structure of your hair. During this time, you should avoid exposing your permed hair to water, as the perm solution is still at work and the curls are setting in. Here’s what to do: What to Avoid in the Final 48 Hours of a Perm? During the last 48 hours of your perm, it’s essential to be cautious and avoid actions that could disrupt the curl formation or damage your hair. Here’s what you should steer clear of: How to Style Permed Hair in the Last 48 Hours? Once you’ve made it through the initial 48 hours, you can start styling your permed hair to achieve your desired look. Here are some styling tips for the last 48 hours: Check Also: FAQs: How do you style permed hair in the morning? Start by using a moisturizing conditioner and scrunching your hair gently to maintain the curls’ shape. How do you style short permed hair? Use small hair clips and frame your face with front curls to style short permed hair effectively. Can I put my hair up after a perm? Yes, you can put your hair up after a perm. Use flexible scrunchies and clips, ensuring they aren’t too tight to maintain your curls. Conclusion: Styling permed hair during the first 48 hours after the procedure and in the following days is essential to maintain the integrity and longevity of your curls. By following these guidelines, you can enjoy your beautiful permed hair and ensure it looks fantastic for weeks to come.

Why Does Blonde Hair Turn Brown

Why Does Blonde Hair Turn Brown?

Blonde hair has long been associated with beauty and a sense of fun, but maintaining its lustrous golden hue can be a challenge. Whether you were born with natural blonde locks or achieved your blonde hair through chemical processes, you might find yourself wondering, “Why did my blonde hair turn brown?” In this comprehensive guide, we’ll delve into the various reasons behind this phenomenon and provide solutions to maintain your blonde hair’s brilliance. Understanding the Natural Reasons for Blonde Hair Turning Brown Preventing Blonde Hair from Turning Brown Now that we’ve explored the natural reasons for blonde hair turning brown, let’s discuss how to reverse this process or, even better, prevent it from happening in the first place: Read Also: FAQs: Why do some natural blondes have dark eyebrows? Natural blondes can have dark eyebrows due to an increase in eumelanin, which can occur naturally as they age. Eyebrows tend to darken more quickly and noticeably than the hair on the head. Additionally, as people age, their eyebrows may thin, making any change in color less noticeable. What is the rarest natural hair color? Red hair is the rarest natural hair color, with less than 2% of the population having natural red hair. This color is attributed to the presence of pheomelanin, a less common type of melanin that produces red pigments in hair follicles. Why does blonde hair turn green when dying it brown? Blonde hair can turn green when dyed brown due to the lack of moisture and nutrients in bleached hair, which can react with the brown dye. To prevent this, use high-quality, nourishing hair dye or consult a professional colorist. If the hair does turn green, you can use ketchup or vinegar to neutralize the chemical reaction and remove the green tint. Conclusion Blonde hair turning brown can be caused by a variety of factors, from genetics and hormonal changes to environmental influences and product build-up. Fortunately, there are steps you can take to prevent and address this issue, ensuring your blonde locks maintain their radiant charm. By understanding the science behind the phenomenon and implementing the solutions provided, you can enjoy the beauty of your blonde hair for years to come.

Why Do My Eyelashes Droop After Applying Mascara

Why Do My Eyelashes Droop After Applying Mascara?

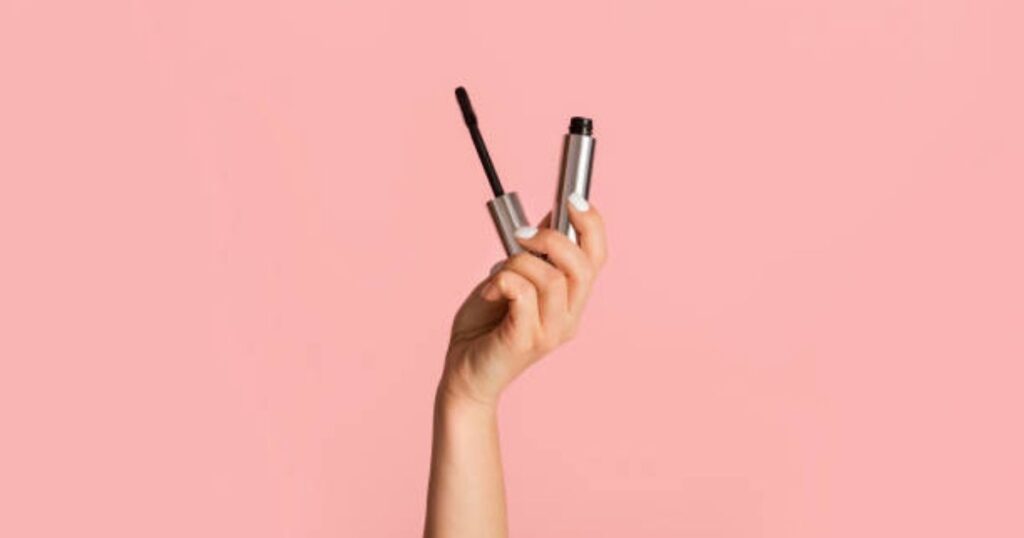
Are you tired of getting droopy and clumpy lashes after applying mascara? This can be a frustrating experience, especially after spending time perfecting your makeup look. However, you are not alone. Many people experience the same problem, and it is usually down to a few specific reasons. In this blog post, we will discuss why your eyelashes droop after applying mascara and offer some tips to prevent it from happening. Common Reasons for Droopy Eyelashes Poor Quality Mascara One of the most common reasons why your eyelashes droop after applying mascara is because of poor quality mascara. Quality mascara usually does not clump or smudge, and it is formulated to keep your lashes lifted and voluminous. Cheap or old mascara is more likely to clump and make your lashes droop. Always invest in high-quality mascara from a reputable brand, and replace it frequently to keep your lashes looking their best. Heavy or Wet Formula  Another common reason for droopy lashes is the mascara formula. Heavy or wet formulas can weigh down your lashes and make them droop. Always ensure to choose a mascara formula that is lightweight and dries quickly. You can also use a lash curler or a primer to keep your lashes lifted. Applying Too Much Mascara  Applying too much mascara can also cause your lashes to droop. When you overload your lashes with mascara, the excess weight can make them droop downward. Try to apply mascara in thin, even layers instead of all at once. This will prevent your lashes from becoming overloaded with products and keep them lifted. Applying Mascara to Wet Lashes  Many people make the mistake of applying mascara to wet lashes. Wet lashes are more likely to clump and stick together, which can cause them to droop. Always ensure your lashes are dry before applying mascara. If you have recently applied eye cream, wait a few minutes for it to absorb before applying mascara to prevent smudging and drooping. Old or Worn Out Mascara Wand  Sometimes, it’s not the mascara that’s the problem, but the wand. Old or worn-out mascara wands can result in clumpy and droopy lashes. Over time, the bristles on your mascara wand can become bent, which can lead to clumps and drooping. Always replace your mascara brush regularly to keep your lashes looking primed and fresh. Read Also: FAQs: How can I prevent my eyelashes from drooping after applying mascara? To prevent your eyelashes from drooping after applying mascara, try using less mascara or switching to a lighter formula. Make sure to let your mascara dry completely before blinking or touching your lashes. Curl your lashes before applying mascara to give them an extra lift, and avoid applying mascara to wet lashes. If you’re using waterproof mascara, make sure to remove it properly at the end of the day to avoid damaging your lashes. Can eyelash curlers help prevent drooping? Yes, eyelash curlers can be a helpful tool in preventing eyelash drooping. Curling your lashes before applying mascara can give them extra lift and help them stay curled throughout the day. However, be careful not to curl your lashes too aggressively, as this can cause damage and breakage. Are there any other tips for preventing eyelash drooping? Yes, there are a few other tips you can try to prevent eyelash drooping. First, avoid rubbing your eyes or touching your lashes throughout the day, as this can cause mascara to smudge and your lashes to droop. Second, make sure to remove your mascara properly at the end of the day to avoid damaging your lashes. Finally, consider using a lash serum or conditioner to strengthen and nourish your lashes, which can help prevent drooping over time. Conclusion Overall, the key to preventing droopy lashes is to choose high-quality mascara, avoid heavy or wet formulas, apply mascara in thin layers, make sure your lashes are dry, and keep your mascara wands fresh. By following these tips, you can achieve stunning lashes that will last all day without drooping or clumping.

What Lipstick is Made of

What Lipstick is Made of: Ingredients, Colors, and Controversies

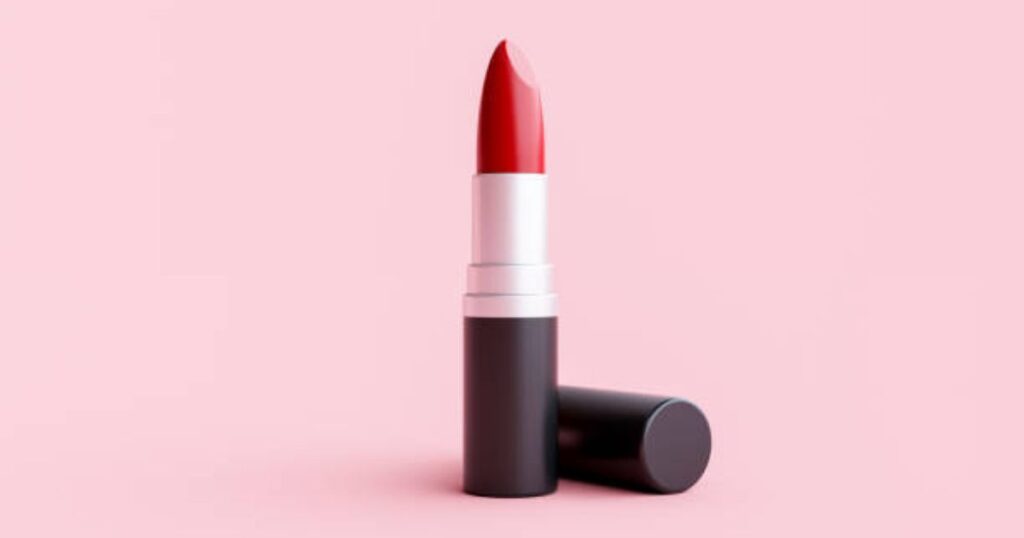
When it comes to cosmetics, lipstick stands as the reigning queen in the beauty industry. It not only adds a splash of color but also enhances the allure of lips. Lipstick comes in an array of shades, from the classic red to daring black. But have you ever wondered what goes into making this beauty essential? In this blog post, we will delve into the ingredients of lipstick, explore the fascinating world of lipstick colors, and shed light on some intriguing facts about its composition. Ingredients of Lipstick Wax: The Structural Foundation Wax is a fundamental ingredient in lipstick, providing it with structure and form. Beeswax, known for its natural and renewable properties, is commonly used in lipsticks. Other waxes like carnauba and candelilla wax are also prevalent choices. Oils: Nourishment for Your Lips The inclusion of oils in lipstick not only imparts a smooth and soft texture but also adds moisture. Oils like castor oil, jojoba oil, and coconut oil are often part of lipstick formulations, making them easy to apply and comfortable to wear. Emollients: Softening and Moisturizing Emollients are responsible for softening the skin, providing a smooth appearance, and keeping the lips moisturized. Popular emollients used in lipsticks include lanolin, shea butter, and cocoa butter. Preservatives: Extending Shelf Life Preservatives play a crucial role in safeguarding lipstick from microbial contamination, ensuring a longer shelf life. Parabens and phenoxyethanol are commonly added to preserve the quality of lipsticks. Pretty Colors: The Role of Pigments Lipsticks are celebrated for their diverse color range, from the classic red to unconventional shades like black and green. The key to these captivating hues lies in pigments. These coloring compounds are mixed into the wax bases to achieve the desired shades. While natural pigments such as beet juice are available, synthetic pigments are typically used to create the wide spectrum of lipstick colors. Lipstick’s history includes some surprising ingredients, with one of the most infamous being whale vomit, also known as ambergris. This waxy substance, produced in the digestive systems of whales, was once used as an emollient in lipstick formulations. Thankfully, most companies have replaced it with alternative ingredients. Another unconventional addition to lipstick is guanine, derived from fish scales, to create a shiny or pearly appearance in the texture. If your favorite lipstick shade is red, you might be intrigued to know that achieving that enticing red hue requires carmine, a dye produced by grinding the scales of the female cochineal insect. However, it’s worth noting that some of these ingredients are animal-based, which might be a consideration for those following a vegan lifestyle. The Paraben Controversy The use of parabens as preservatives in cosmetics, including lipsticks, has sparked controversy due to potential health risks. Parabens can penetrate the skin and enter the body, disrupting hormone function, particularly estrogen. This disruption may have implications for reproductive health and fertility, and there are concerns about a possible link to cancer. As a result, lipsticks and other cosmetics containing parabens should be used with caution. Exploring the World of Lipstick Common Lipstick Ingredients and Their Functions Ingredient Function Wax Provides structure and shape Oils Adds moisture and smoothness Emollients Softens, moisturizes, and smoothens the skin Preservatives Protects from microbial contamination Pigments Provides a wide range of colors Check Also: FAQs: Are there vegan alternatives for lipstick ingredients? Yes, there are vegan-friendly lipstick options that use plant-based waxes, oils, and colorants. Check the product labels for terms like “vegan” or “cruelty-free” to ensure your lipstick aligns with your values. How can I find out if my lipstick contains parabens? Review the ingredient list on the lipstick packaging. If parabens are present, they will typically be listed as specific compounds like methylparaben or propylparaben. Alternatively, look for lipsticks marketed as “paraben-free.” Can I make my own natural lipstick at home? Certainly! You can experiment with creating your own lipstick using natural ingredients like beeswax, coconut oil, and natural pigments from fruits or spices. Many DIY lipstick recipes are available online. What is the significance of the cochineal insect in lipstick production? The cochineal insect is used to produce carmine, a red dye. Its scales are ground to create this vibrant red pigment, which is widely used in the cosmetics industry. Conclusion: Lipstick is more than just a cosmetic product; it’s a fusion of various ingredients that cater to both aesthetics and function. From wax for structure to pigments for color, the world of lipstick is a fascinating blend of science and art. While there have been controversies over certain ingredients like parabens, the beauty industry continues to evolve, offering an ever-expanding array of lipstick options for consumers to enjoy. So, the next time you pick your favorite shade, you’ll have a deeper understanding of what makes it so alluring.

One Shoulder Dress Hairstyles

One Shoulder Dress Hairstyles: Elegant Ideas For A Stunning Look

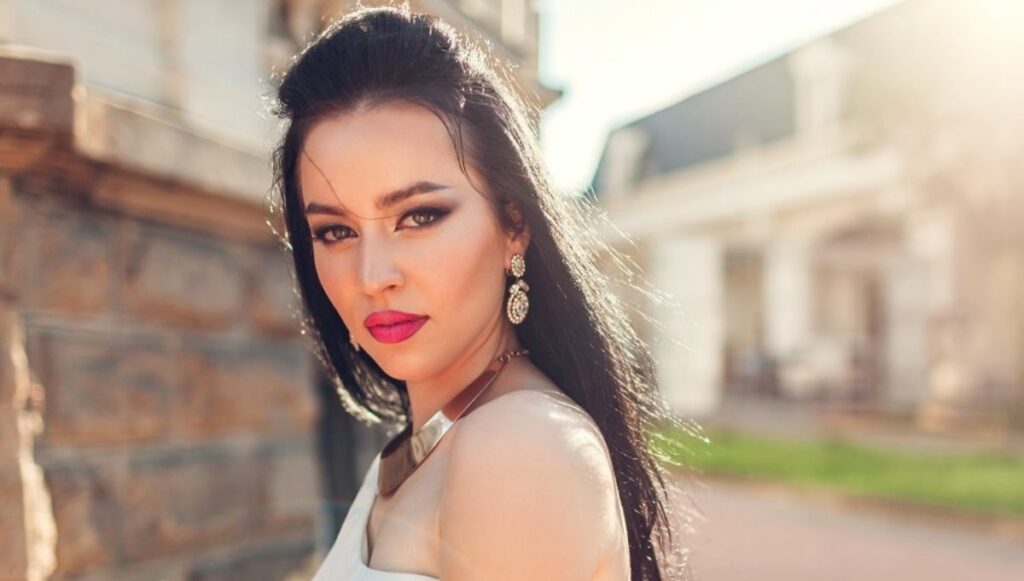
When it comes to styling a one shoulder dress, there are plenty of elegant ideas that can help you achieve a stunning look. Whether you’re attending a formal event or simply want to elevate your everyday style, the right hairstyle can make all the difference. In this article, we will explore various hairstyles that perfectly complement a one shoulder dress and enhance your overall appearance. From sleek updos to romantic curls, we’ve got you covered with some fabulous options. So, if you’re looking to make a statement with your one shoulder dress, keep reading for some inspiration and step-by-step instructions on how to achieve these hairstyles. Top 8 One Shoulder Dress Hairstyles 1. Sleek Updos Sleek Updos are a timeless and sophisticated choice when it comes to styling a one shoulder dress. This hairstyle pulls your hair away from your face, allowing the focus to be on the elegant neckline of your dress. To achieve a sleek updo, start by brushing your hair back and gathering it into a low ponytail. Secure the ponytail with an elastic band and twist it tightly. Then, wrap the twisted ponytail around the base to create a bun and secure it with bobby pins. Finish off the look with some hairspray for added hold and shine. 2. Romantic Curls For a softer and more romantic look, opt for loose curls with your one shoulder dress. Start by curling small sections of your hair using a curling iron or hot rollers. Once all of your hair is curled, gently brush through the curls to create soft waves. To keep the curls in place, you can use a light-hold hairspray. This hairstyle adds volume and glamour to your overall look, complementing the feminine style of a one shoulder dress. 3. Side-swept Waves If you want a hairstyle that exudes effortless elegance, consider side-swept waves. This hairstyle works particularly well with one shoulder dresses as it showcases the exposed shoulder beautifully. To achieve this look, part your hair to one side and curl it using a curling iron. Once all of your hair is curled, brush through the curls to create loose waves. Then, sweep your hair to one side and secure it with bobby pins. Finish off the look with a spritz of hairspray to keep the waves in place. 4. Braided Updo For a unique and eye-catching hairstyle, try a braided updo with your one shoulder dress. This hairstyle adds texture and intricacy to your look, making it perfect for special occasions. Start by creating a deep side part and French braid a small section of hair on the side with less hair. Once you reach the nape of your neck, gather all of your hair, including the braid, into a low ponytail. Then, twist the ponytail and wrap it around the base to create a braided bun. Secure the bun with bobby pins and spray with hairspray for hold. 5. Sleek Ponytail A sleek and high ponytail can add a touch of elegance and modernity to your one shoulder dress. To achieve this look, gather all of your hair into a high ponytail and secure it with an elastic band. For a polished finish, take a small section of hair from the ponytail and wrap it around the elastic band to conceal it. Secure the wrapped section with bobby pins and add some hairspray for a sleek and smooth look. 6. Half-up Half-down If you want a hairstyle that combines both elegance and simplicity, consider a half-up half-down look. This versatile hairstyle allows you to show off the length of your hair while keeping it away from your face. Start by sectioning off the top half of your hair and securing it with a small elastic band or hair clip. You can leave the top section as is or add some curls or waves for extra texture. This hairstyle works well with both straight and wavy hair, giving you plenty of options to play around with. 7. Low Chignon For a sophisticated and chic look, a low chignon is an excellent choice for a one shoulder dress. This hairstyle keeps your hair neatly tucked away, allowing the focus to be on your dress and accessories. To achieve a low chignon, gather all of your hair at the nape of your neck and twist it into a bun. Secure the bun with bobby pins and use hairspray to keep it in place. This hairstyle is polished and timeless, making it perfect for formal events or weddings. 8. Sleek Straight Hair Sleek Straight Hair is a classic and elegant hairstyle that pairs perfectly with a one shoulder dress. This hairstyle gives a sleek and polished look, allowing the focus to be on your dress and neckline. To achieve this look, start by straightening your hair with a flat iron. Use a heat protectant spray to protect your hair from damage. Then, use a comb to create a deep side part and tuck the hair behind your ear on the opposite side of your shoulder. Finish off with a spritz of hairspray to keep your hair in place and add shine. This hairstyle is versatile and can be worn for both formal and casual occasions. It is a great option if you want a simple yet sophisticated look. Tips for Choosing the Right Hairstyle When choosing a hairstyle to complement your one shoulder dress, consider the following tips: Conclusion In conclusion, your choice of hairstyle can make or break your one shoulder dress look. The top 8 one shoulder dress hairstyles presented here provide a range of options to suit different occasions and personal preferences. Whichever style you choose, remember to consider the neckline of your dress and the event you’re attending. Frequently Asked Questions For more amazing articles visit our website

Can You Put Perfume in a Diffuser_

Can You Put Perfume in a Diffuser?

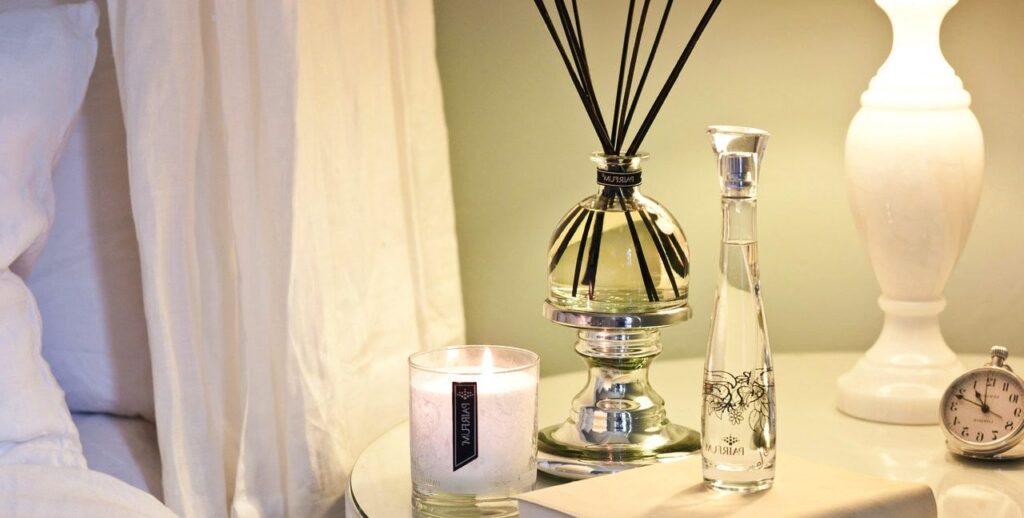
Perfume and diffusers are both popular products, but can they be used together? Many people are curious about whether it is possible to put perfume in a diffuser. In this article, we will explore this question and provide you with all the information you need to know. We will discuss What are diffusers and how they work, the benefits of using perfume in a diffuser, and alternative options for adding fragrance to your diffuser. So, if you’re wondering if you can put perfume in a diffuser, keep reading to find out the answer. What are Diffusers and How they Work Before delving into the world of diffusing perfumes, it’s essential to understand what diffusers are and how they work. Diffusers are devices designed to disperse essential oils or other aromatic substances into the air, creating a pleasing and therapeutic atmosphere. They come in various forms, such as ultrasonic, nebulizing, heat-based, and evaporative diffusers, each with its own unique mechanism. One common feature of these diffusers is their ability to break down essential oils into tiny particles that can be released into the air as a fine mist. These devices are often used in aromatherapy to promote relaxation, relieve stress, and improve well-being. But can they also be used with your favorite perfume? Let’s find out. Can You Put Perfume in a Diffuser? The short answer is yes, you can put perfume in a diffuser. However, there are some important considerations to keep in mind to ensure a safe and effective diffusion. Here’s a step-by-step guide on how to do it: Benefits of Using Perfume in a Diffuser Now that you know how to put perfume in a diffuser let’s explore some of the benefits: Can You Use Perfume in a Reed Diffuser? Yes, you can use perfume in a reed diffuser, but it’s not the most effective option. Reed diffusers are typically designed to work with specific diffuser oils or fragrances, which have a thinner consistency than most perfumes. Using perfume may clog the reeds or not diffuse as effectively. It’s better to use diffuser oils or essential oils for optimal results. Safety Precautions While diffusing perfume can be a delightful experience, it’s essential to follow a few safety precautions: Alternative Options for Adding Fragrance to Your Diffuser 1. Wax Melts Wax Melts are a popular alternative to adding perfume to a diffuser. These small wax blocks or shapes are specifically designed to be melted in a wax warmer or diffuser. They come in a variety of scents and are a safe and easy way to fill your space with fragrance. To use wax melts, simply place one or two in the dish of your wax warmer and turn it on. As the wax melts, it will release its scent into the air, creating a pleasant and inviting atmosphere. 2. Essential Oils Another option for adding fragrance to your diffuser is using essential oils. Essential oils are highly concentrated plant extracts that have various therapeutic benefits. They are commonly used in aromatherapy and can be diffused to create a pleasant scent in your space. When using essential oils in a diffuser, be sure to follow the manufacturer’s instructions and use oils that are safe for diffusion. Some popular essential oil scents include lavender, eucalyptus, and lemon. 3. Natural Herbs and Spices If you prefer a more natural and homemade approach, you can use dried herbs and spices to add fragrance to your diffuser. Simply crush or break apart your chosen herbs or spices, such as cinnamon sticks, dried lavender, or rosemary, and place them in the diffuser. When the diffuser is turned on, the heat will release the aroma from the herbs and spices, filling your space with a natural fragrance. Conclusion In conclusion, you can put perfume in a diffuser to enjoy a long-lasting, customizable, and therapeutic fragrance experience. With the right precautions and a bit of experimentation, you can transform your living space into a fragrant haven. So, go ahead, explore the world of diffusing perfumes, and elevate your surroundings with your favorite scents. FAQs Read Also

Do Perfumes Freeze

Do Perfumes Freeze: The Ultimate Guide

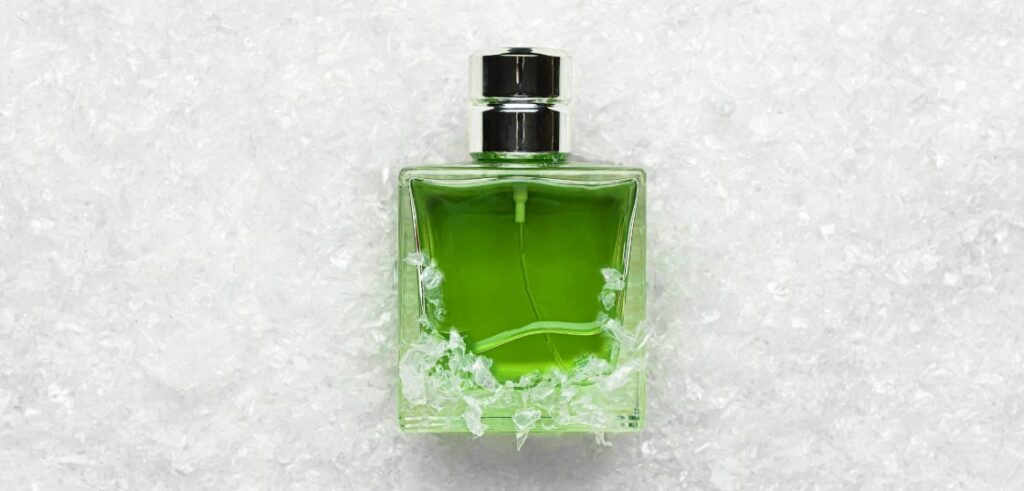
Perfume enthusiasts often wonder if their beloved fragrances can freeze. In this comprehensive guide, we will explore the topic of perfume preservation and answer the question, “Do perfumes freeze?” We will delve into the composition of perfumes, discuss the potential consequences of freezing perfumes, and provide valuable tips on how to store and protect your fragrance collection properly. Whether you are a perfume aficionado or simply curious about fragrance preservation, this ultimate guide will provide you with the knowledge you need to keep your perfumes in optimal condition. So, let’s dive in and unlock the secrets of preserving your favorite scents. The Composition of Perfumes Before we explore the effects of freezing on perfumes, it’s essential to grasp the basic composition of these captivating scents. Perfumes are complex mixtures of various aromatic compounds, solvents, and fixatives. These components combine to create a harmonious, long-lasting fragrance that lingers on your skin. The Potential Effects of Freezing on Perfumes Now, let’s address the million-dollar question: can perfumes freeze? The short answer is yes, but the real concern lies in what happens when perfumes thaw after freezing. When a perfume is exposed to freezing temperatures, several potential issues can arise: Can Perfumes Burst Bottles? You might be wondering if your perfume bottles are at risk of bursting due to freezing. Typically, glass perfume bottles are designed to withstand a wide range of temperatures, including freezing conditions. However, there is still a risk of breakage, especially if the perfume inside has frozen and then expanded. It’s essential to avoid leaving your perfumes in extremely cold conditions for prolonged periods to reduce the risk of bottle breakage. Tips for Proper Perfume Storage and Protection To preserve the quality and longevity of your perfumes, it is essential to store them correctly. Here are some valuable tips: 1. Keep perfumes away from extreme temperatures: Avoid exposing your fragrances to excessive heat or cold. Store them in a cool, dry place, away from direct sunlight and sources of heat, such as radiators or windowsills. This helps maintain the stability of the perfume’s ingredients. 2. Avoid fluctuations in temperature: Rapid changes in temperature can be detrimental to perfume preservation. Avoid storing perfumes in areas prone to temperature fluctuations, such as bathrooms or near air conditioning vents. 3. Store perfumes upright: Keeping perfume bottles upright helps prevent leakage and ensures the integrity of the fragrance inside. It also minimizes the contact of the perfume with the bottle’s cap or stopper, which can cause evaporation or contamination. 4. Keep perfumes in their original packaging: The original packaging, such as boxes or cases, provides an additional layer of protection against light, heat, and air exposure. It helps maintain the fragrance’s quality and prevents degradation. By following these storage guidelines, you can prolong the lifespan and quality of your perfumes, allowing you to enjoy their captivating scents for years to come. Conclusion In summary, yes, perfumes can freeze, and it’s best to avoid subjecting them to extreme cold. Freezing can lead to various issues, including separation, scent alteration, and bottle damage. To preserve your fragrances, it is crucial to store them properly, avoiding extreme temperatures and fluctuations, and keeping them upright in their original packaging. With these tips, you can ensure the longevity and enjoyment of your favorite perfumes. Frequently Asked Questions Read Also: